Thursday 29 December 2016

My Favourite three creations 2016 by Gemma


This is my second year doing this for The Artistic Stamper. My time to look back on the things I have made and pick my top three.  It is always hard looking back, we all have those, what was I thinking moments, those I should have done this instead moments and those I just plain don't like that any more moments. Anyway below are my top three for 2016


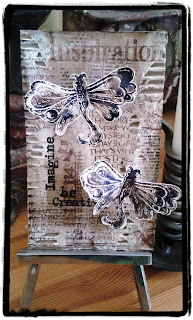
I still love this, it still lives on my wall. One of my first cleaner, less messy canvases. I remember how much I enjoyed making this and looking at it always makes me want to get my paints out.


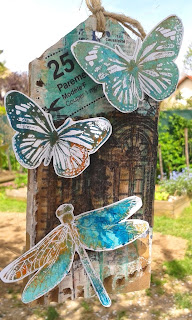
This tag combined many of my favorite things, tearing, distress ink, calligraphy mats, and the beautiful dancer stamp. Still love it and often wished I still had it! 


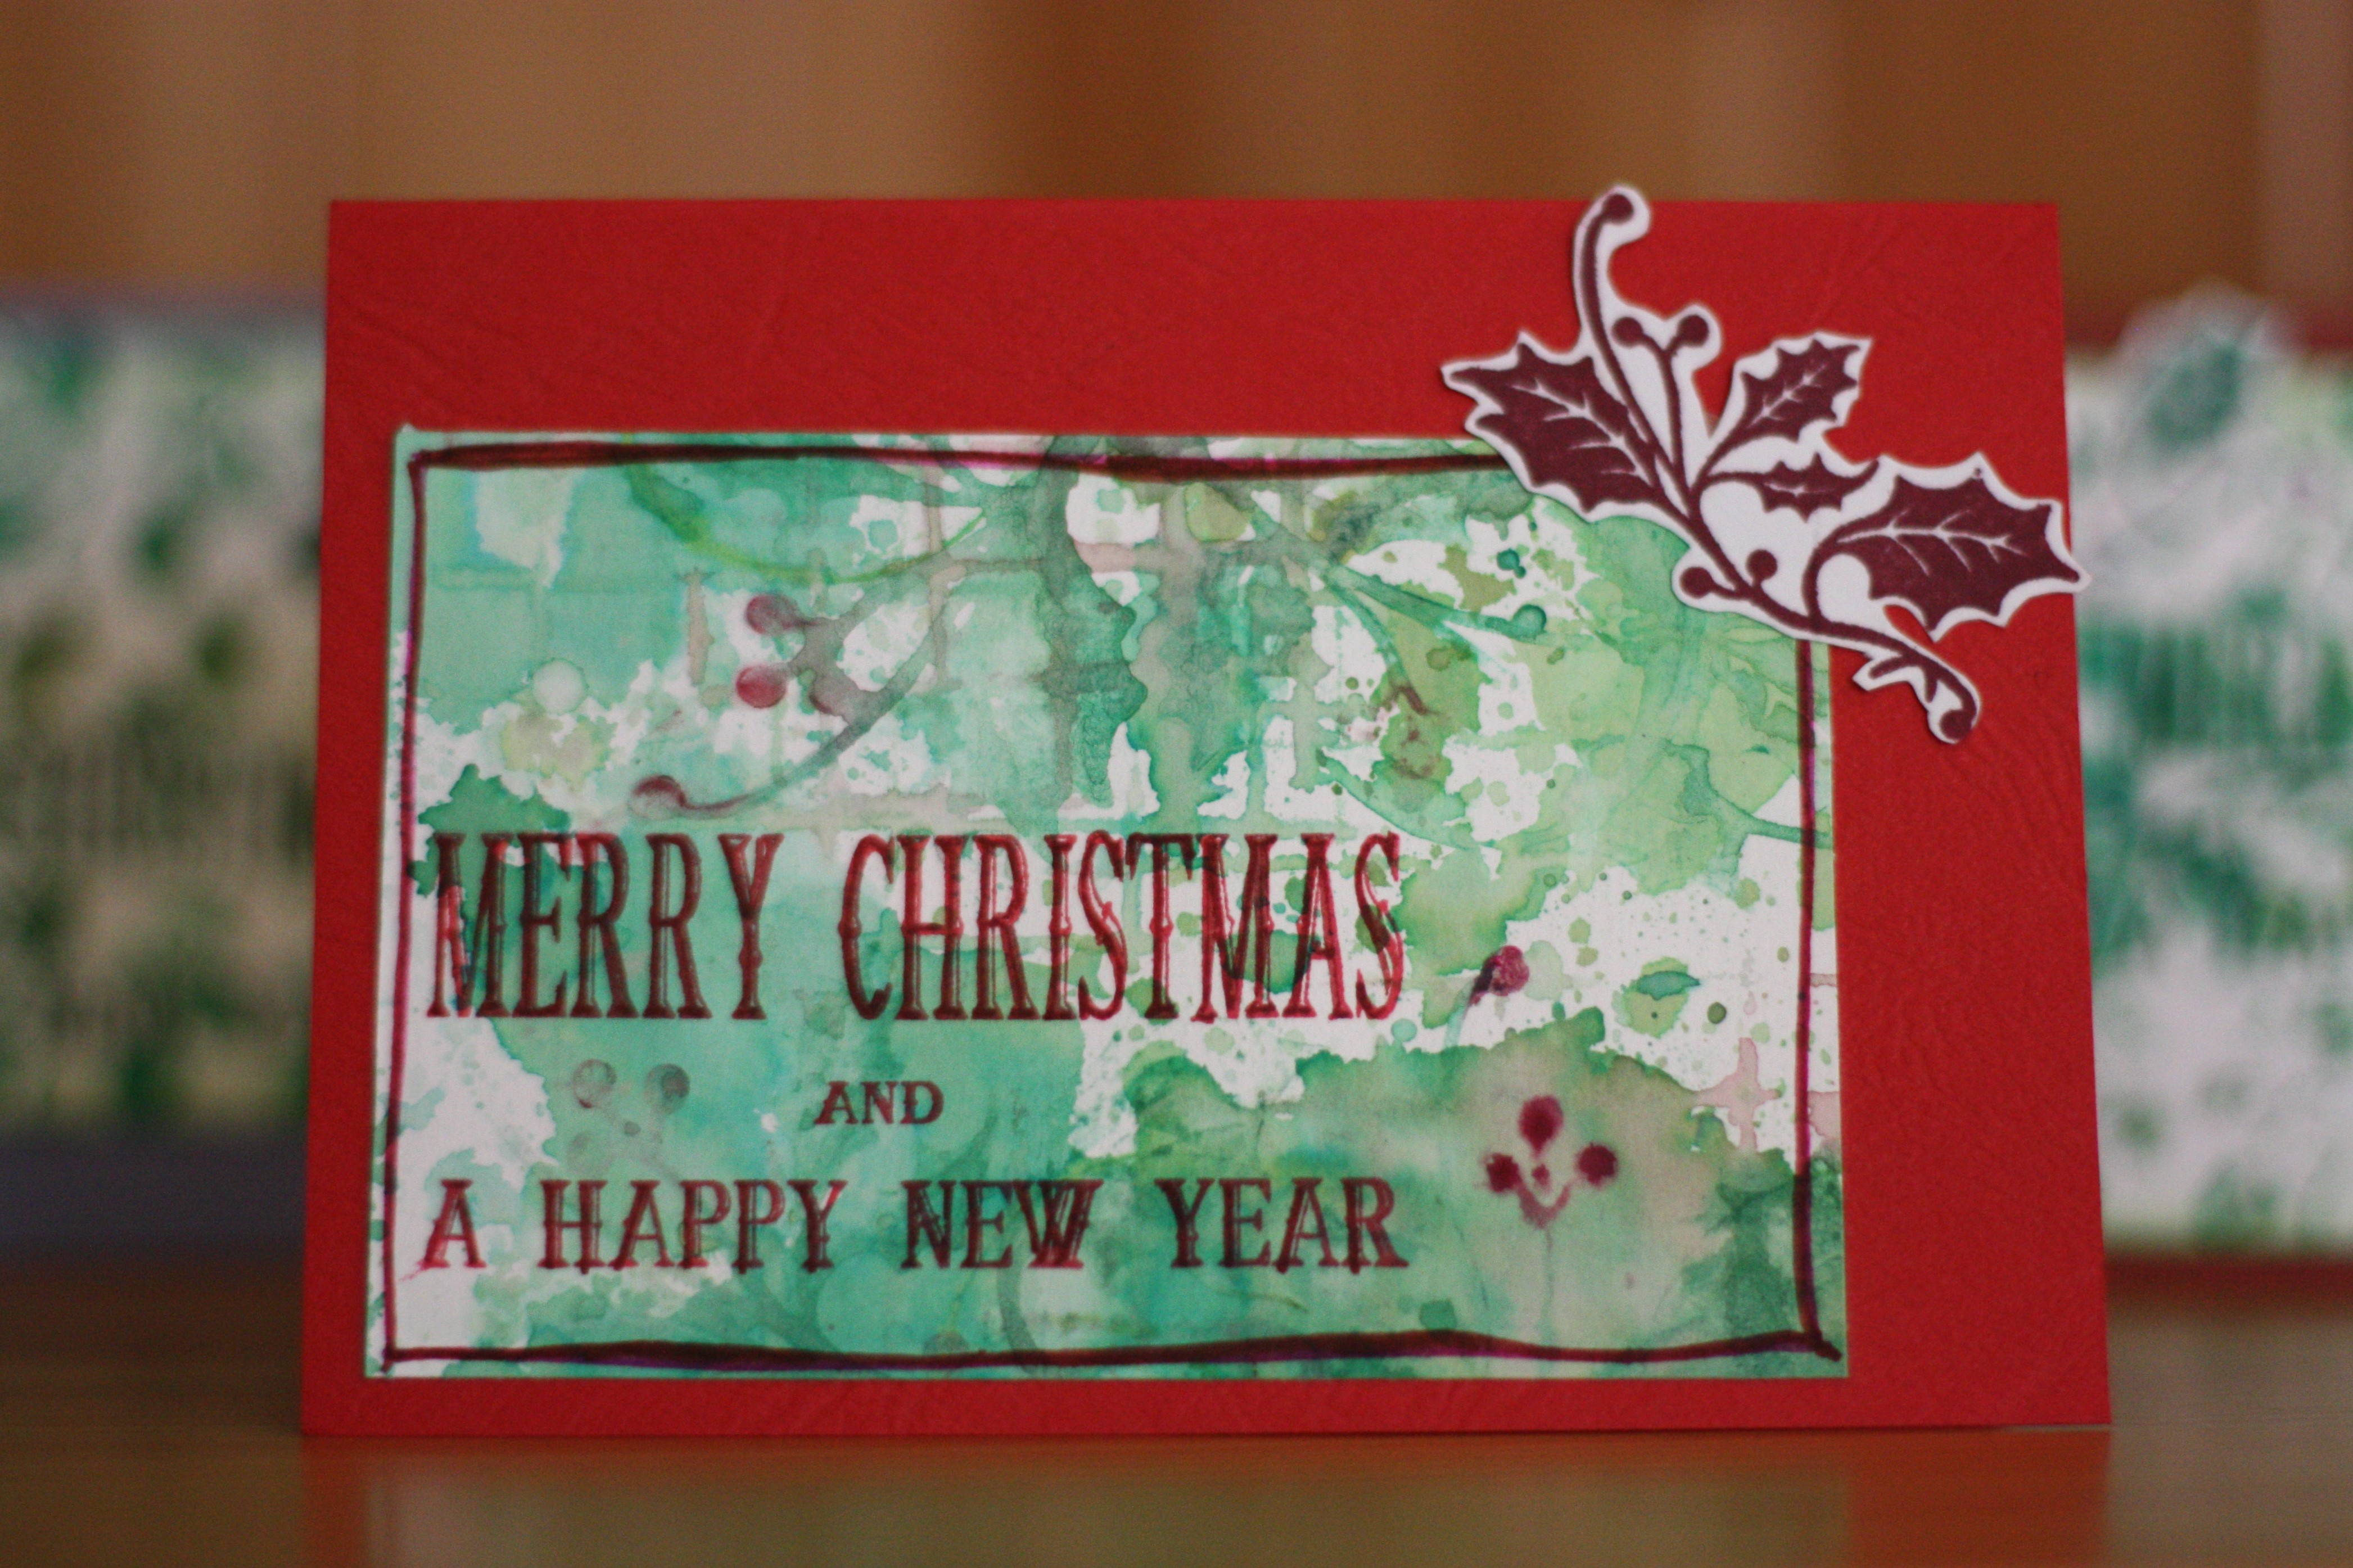
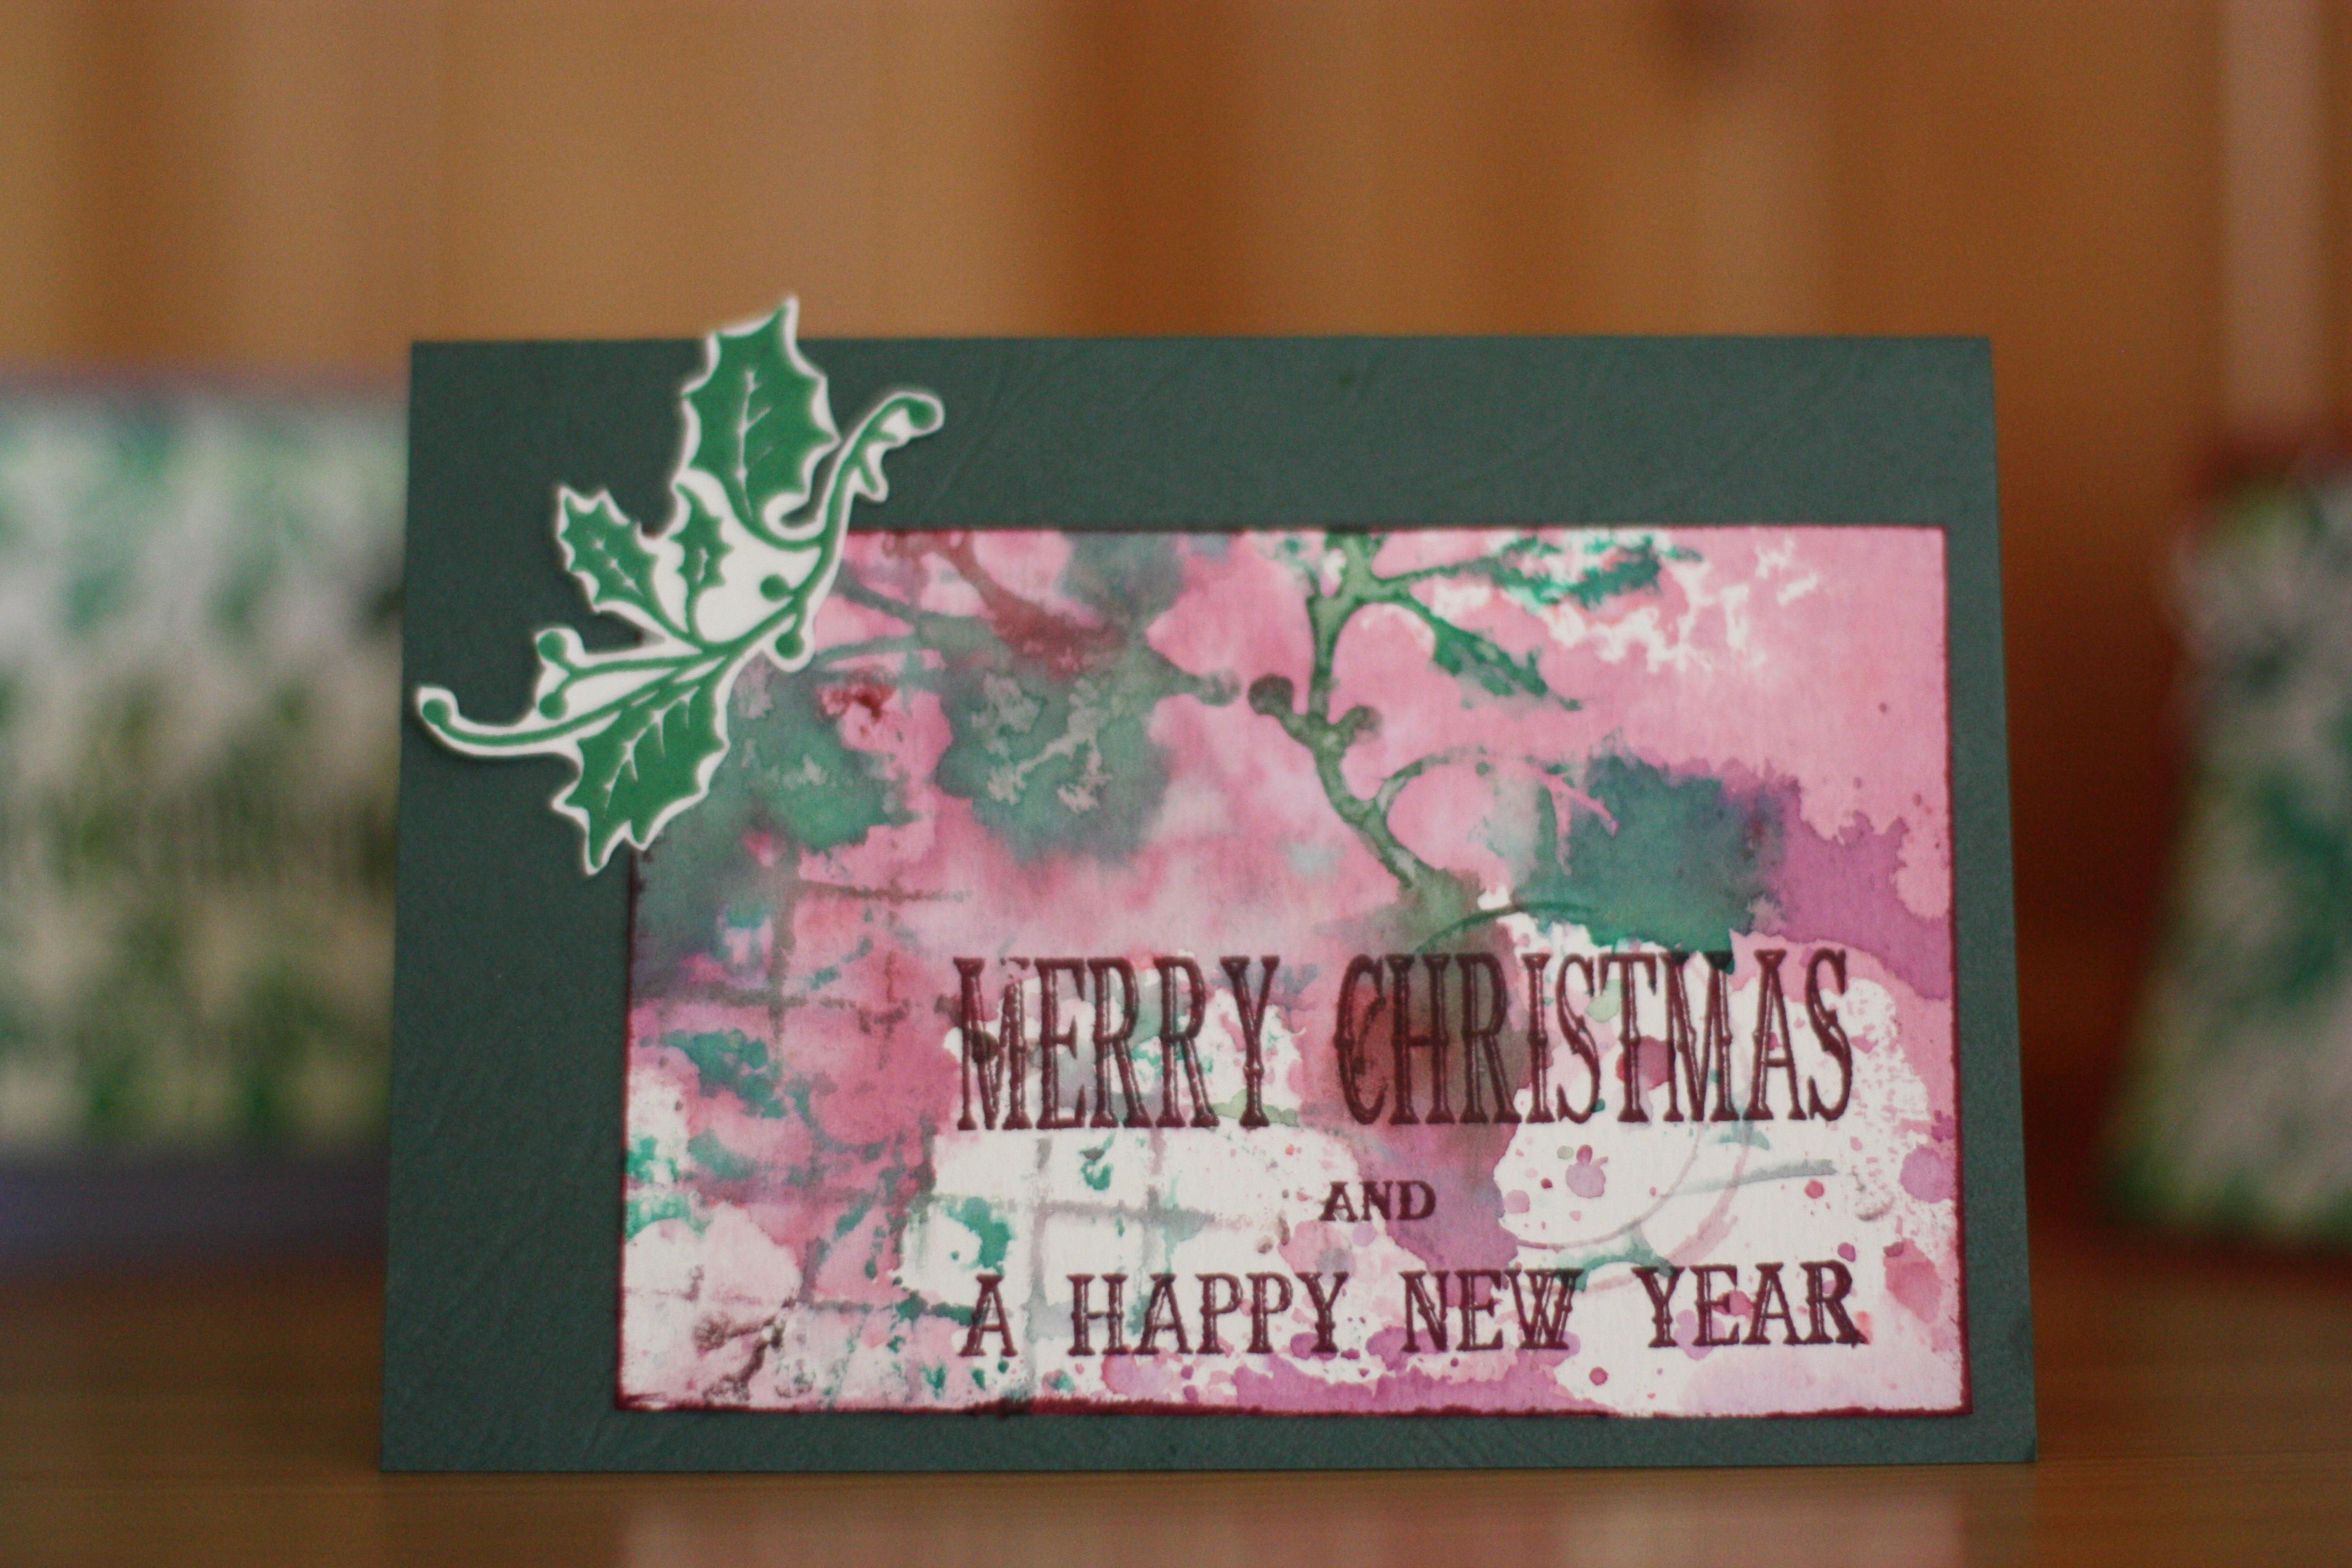
This card is still a keeper, I just can not seem to give it away. It was something very different for me and if I am very honest I'm not sure how it came to me. I just sat down to play and then this happened. 

Thank you for reading,
 I hope everyone has a great holiday 
Gemma


Saturday 24 December 2016

My three favourite projects for 2016

Hi All

I thoroughly enjoyed the challenges this year.  It has been great to see all of yours as well.  So here are my three favourite projects 2016

In reverse order this is Junes post, had great fun creating this tag I really like all of the colours and textures 

This reverse canvas from May was great fun and lots of texture, with hessian, felt, tissue as well as pastes


This journal page from May was layered with old book pages and has a lovely grungy look to it.

It is really hard trying to pick just three projects i could easily have chosen another couple.
I hope you agree with me, although if you have another favourite let me know 

Hope you all have a lovely Christmas i shall look forward to seeing all of your projects in the new year.
Debs

Monday 19 December 2016

My favorite 3 projects for 2016 by Titbelsoeur

Hi there ! a fourth year has passed and I am still so happy to show you the projects I have made using the wonderful Artistic Stamper's stamps.
I have selected my favorite 3 projects of this year, starting with 

a distressed card (click on the pictures to read the posts) :


then a distressed tag :


and my favorite, a sardine can :


And, I will cheat a bit, but my list wouldn't be complete without showing you one of the projects I did make with the mushroom stamps I have had the pleasure to design for the Artistic Stamper :


Again, I have been so happy to spend this year with you, and I hope there will be many others to follow ! 

Enjoy this year-end time, have a lot of fun and celebrate !

And always :

Thanks so much for stopping by,
your comments are very much appreciated, 
here, on my blog, or on the Artistic Stamper's Facebook page.
Do not forget to participate in our monthly challenge
 to win some fabulous Artistic Stamper stamps.

Have a very merry Christmas and a very happy New Year !
Titbelsoeur

Friday 16 December 2016

Pocket Christmas Planner by Gemma

I like to be organized at Christmas and admit that I have many lists on the laptop. Unfortunately, that doesn't help me when I am out and about so I made this little folder that I can easily put in my bag.
   

The inside was constructed using a couple of envelopes and a card blank. I glued the flaps of two envelopes to the sides of a card blank and then cut a third envelope in half to make pockets on the inside. Then I folded in half a sheet of Kraft card and trimmed it down to make a cover.


To decorate I pulled a few prints from my Gelli plate using different background stamps. Which I cut down and glued in place leaving myself lots of places to slide in my gift lists and to do lists.


To decorate the cover I cut a tree shape from one of the Gelli prints and ripped a piece of white pearl paper for my snowy hills. Before glueing them to the cover I painted the whole thing blue and stamped over the top with blue distress ink.


Thank you for reading
Gemma


Monday 12 December 2016

A little late - Debs

Hi Everyone

I hope you are all ready for Christmas, i am not quite there yet, as you may have guessed, getting behind with everything at the moment!!   Here is a seasonal journal page to help you feel a bit more Christmassy if you are not already!!


I had started this page some time ago, playing with some blue and white acrylic paints, it was crying out for something frosty looking.


I stamped the large snowflake from the jewelled snowflake set with versa mark and embossed with wow silver embossing powder.  I then stamped the new snowflake background stamp, with Picket Fence Distress Ink around the edge of the page.  Then stamped the Noel and Seasons Greetings from the Christmas Greeting #1 set with Black Archival.

The final part was to get out the silver and white gel pens.  I coloured the Noel and Seasons greetings with the silver and then added white on the tops of the letters to look like snow had settled on them.  then coloured the snowflakes in with the white pen.

Happy creating
Debs

Wednesday 7 December 2016

My last greeting cards by Titbelsoeur

Hi there,
this is the last bunch of greeting cards I have to show you, with a more blurry background, these I like the most !
To make these, I have first put Distress ink pads on to a plastic sheet and sprayed with water, then put the drawing paper here and there. And stamped  Holly Background stamps and things from my stash like fish punnet, bottle caps... while it is still wet.
Then, while the paper dries, I stamped some holly branchs from the  Christmas Reindeer plate on another paper with Archival ink and cut them out.
And finally I cut the background in 8 pieces, stamped the sentiment with Archival ink and stuck them to the support with double-sided tape, then the branch.
And here they are !


Do not forget to participe in our

December's Creative Challenge- Christmas

 to win some fabulous Artistic Stamper stamps !

Titbelsoeur

Sunday 4 December 2016

Christmas ATCs

Hi, I'm Angie and this is my first blog post for The Artistic Stamper! It's lovely to be here.

For my first project I chose to make 2 Christmas themed ATCs.

On the "Friends" one I used bauble stamps, star stamps and a journaling word stamp, all by The Artistic Stamper.
On the "Family" one I used bauble stamps, a holly background stamp and journaling word stamp, also by the Artistic Stamper, as are the gems and lace.
Both backgrounds are embossed with white embossing powder and coloured with Distress Inks, the baubles are also coloured with Distress Inks.

I hope you like them.

Friday 2 December 2016

Winner of November's Creative Challenge

Hi
A Big thank you to everyone who joined in our Nopvember Autumnal Challenge. There were the most wonderful colourful creations. 
There can only be one winner, so Mr Random.org picked


Congratulations, and please email me so I can send your prize .
Don't forget this month's challenge, which is Christmas, and can be found here.
We look forward to seeing your creations.
Have a very Merry Month
Jennie x


Thursday 1 December 2016

December's Creative Challenge- Christmas

Hello!
Welcome to our monthly Creative Challenge. It's the last one of the year, and what better theme than Christmas!  Interpret it in any way you like, as long as it has rubber stamping in it.

To join in with this challenge (we are limiting the challenge entries to 3 per person), is simple; all we would like you to do is, make a piece of artwork, making sure that you include the theme and some rubber stamping. Pop back here to link up using the Inklinkz at the bottom of this post, so that we can see what you've made and then, leave us a comment to let us know you have joined in with the challenge.


 As always, there will be candy for one randomly picked entrant - the winner will receive a stamp of their choice from The Artistic Stamper

In addition, you can enter the same challenge on Facebook!   To join us on just go to our new Facebook group, and send us a request to join..  There will be a prize for the Facebook challenge, as well as the blog challenge!

And don't forget....if you use The Artistic Stamper stamps on your entry, you will entered into the draw, twice!

Here is some creativity for you from the Creative Team to help you get started....


I have made an alternative Christmas card, white embossing a calligraphic mat, and covering it in distress inks through an Artistic Stamper Stencil, and adding stamps from our Christmas range with Archival inks.


Wow! where has the year gone, time for the December challenge and for this I created a card. I did not use a single Christmas stamp making this card, just lots of The Artistic Stampers background stamps. For more on how I made this card, head over to my blog. I can not wait to see everyone's Christmas creations. 


Hi there ! how about making beautiful gift tags with our fabulous Christmas stamps ?


Hi everyone, here is a quick card with the new Christmas stamps

 
We hope that you will join in this month's challenge, and also join us on Facebook too.

We look forward to seeing your creations. Don't forget to add a comment when you have posted your entry.
Have a festive month!


Jennie

Tuesday 29 November 2016

Canvas Board by Gemma


Hello Everyone

I had fun creating this piece,  but it was a lesson in remembering to know and understand the materials you are working with and that you can not just force materials to behave in ways they are not meant to. 


I used a canvas board as the base of my piece and put down some Festive Berries and Seedless Preserves Distress Crayons. After blending them together with my fingers I placed the Random Dots mask over the top and wiped some of the crayon away with a bay wipe.


Using the same mask I added more colour, and then I stamped over the whole board with a Calligraphy mat and archival ink. Over the top I painted the image I wanted with drawing gum. This is a fun product to play with. It acts as a barrier when dry so that you can paint over the top and then rub the gum away so you can see whats underneath. 


Using the gum and not thinking about the materials I had used is what caused me issues, When it was time to rub the drawing gum away I was left with a much paler background coming through. The fact that I had added more wet materials over the top and because there was movement, a lot of the Distress crayon had come away.  I still love the way it looks (which is why I posted it), but the end result was not the one intended. 


I finished by adding some white dots around the outside edge to form a frame, and the word Create from the Word Mask.

Thank you for reading
Gemma


Thursday 24 November 2016

Creative.... Artful.... Inspire... Tag by Debs

Hi Everyone

When i sat down to make this project, the wind was howling and the rain was teeming against my craft room window.  I felt the need for something cheerful!! I also decided it was about time i used some of my gelli prints in a project rather than just keeping them to stroke!!


I started off with a large tag and covered it with some printed tissue, not worrying about creases

 Then i started adding in bits of gelli print, just ripping them off and sticking them down
I was going to add the pink bit at the end (its just off a paint spout) but it appeared to vanish between my taking this photo and finishing!!
I then started adding some acrylic paint i used Amsterdam paints, using pink and that lovely teal colour

I then added some stencilling using the mini square, the number stencil and Georginas Daisy and then stamped some circles using the Decay Journaling #1 Stamp set

I then stamped the circles again onto more Gelli Prints and cut them out and stuck them onto the tag where i had stamped.
I added some doodling with white and black pens either using the pattern on the gelli print or just doodling.  I also went round the stencilled images with a white pen as well.
I also stamped a some of the Framed words onto some white card
Added a nice pink ribbon bow and it cheered  me up no end!!  
Hope it inspires you.
There is still a week left on this months challenge so don't forget to add your projects, you never know you might win!!
Debs 


Saturday 19 November 2016

Other greeting cards by Titbelsoeur

Hello happy crafters !

What about making a series of nice greeting cards with our fabulous new Christmas stamps ?

To make the background of both cards, I have fist stamped Holly Background ( cut out and mounted on Cling Foam with various Distress green inks and sprayed water. 

Then, on the red card, I have also stamped the big holly branch from Christmas Reindeer Size A5 ( cut out and mounted on Cling Foam) over the background, on the blue card I have stamped the small holly branch with mixed green and blue inks.
Same sentiment stamped with Archival ink on both cards, one in red, one in dark blue.
And on the red one, the small holly branch cut out and sticked on it to add volume.

Both backgrounds come from a A4 drawing paper cut in 8 pieces, each of them sticked on to different cardstock papers.

Easy peasy for the pleasure of your recipients !


Do not forget to participe in our

November's Creative Challenge-Autumnal

 to win some fabulous Artistic Stamper stamps !

Titbelsoeur

Wednesday 16 November 2016

Autumn Tag by Gemma


Hello Everyone

I created an Autumn themed tag for this post. We are half way though the month and there is still plenty of time to join in this months challenge both on the blog and the facebook page. 

This months theme is
Autumn


I sprinkled some Black Knight and The Sage Infusions from PaperArsty onto a manilla tag, and sprayed lots of water over the top. Then you get to sit back and watch the powder explode, a little goes a very long way. As I wanted more of a bitty texture I added some more powder to the tag when it was almost dry.


Once dry I applied some Ground Espresso Distress Ink through the Petal mask in different areas, and then stamped over the whole tag with a Calligraphy stamp and Peeled Paint Distress Ink.


I mixed some Golden Sand and Sunset Beach Infusions with water on my craft mat. On one tag I stamped out lots of leaves using the leaf stamp from the Dog Rose set and then painted them with the Infusions. On the other tag I applied a wash of the Infusions over the tag before stamping the same leaf several times.  I cut out all the leaves and edged them with ink.


On the main tag I drew a tree using a black Stabilo pencil, to soften the lines I went over them with a water brush. Then I glued my leaves in place and stamped the word dreams at the bottom before gluing the tag to a piece of card I had already covered in Peeled Paint Distress Ink.


Thank you for reading
Gemma